Creating a Self-Signed Certificate
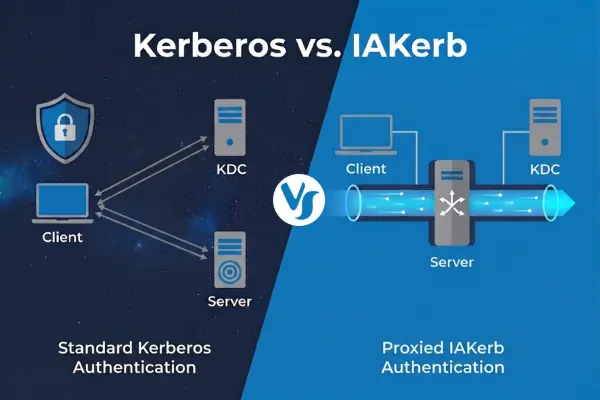
A KDC Proxy requires a certificate because it runs over HTTPS, not plain Kerberos (UDP/TCP 88). The certificate provides TLS encryption and server authentication to protect Kerberos traffic. Without it, a client cannot establish a secure connection to the proxy.
Step 1: Create a Certificate Template for KDC Proxy
A certificate template ensures the KDC Proxy gets a certificate with the correct EKU, SAN, and permissions. It simplifies secure and consistent certificate issuance from the CA.
To create the template, follow these steps:
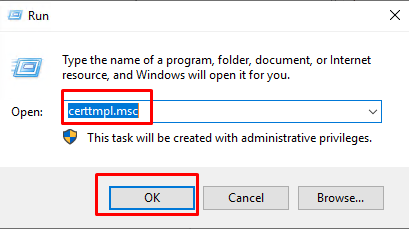
- On your DC server press Winkey + R and enter certtmpl.msc into the run box and click OK.
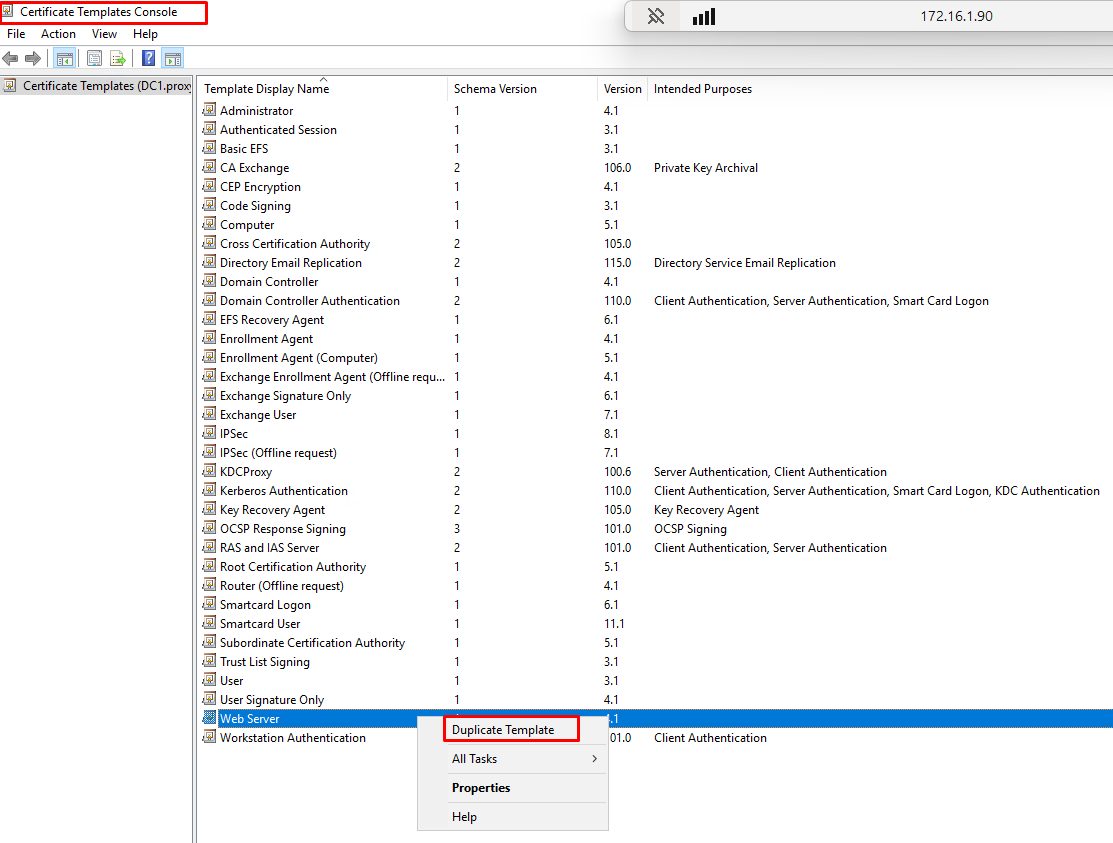
- In Certificate Templates Console right click on “Web Server” Certificate and select “Duplicate Template”.
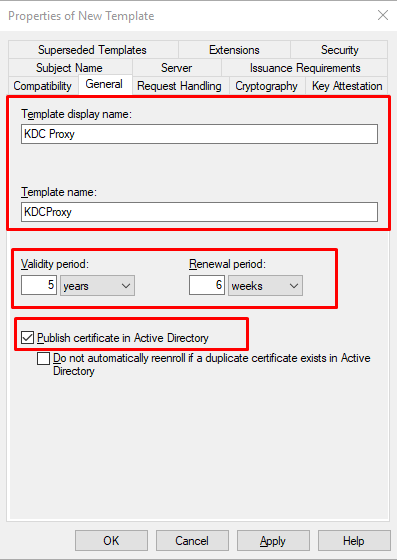
- At “General” Tab Set the Template name and the expiration date for the certificate.
Check the box for “Publish certificate in Active Directory” .
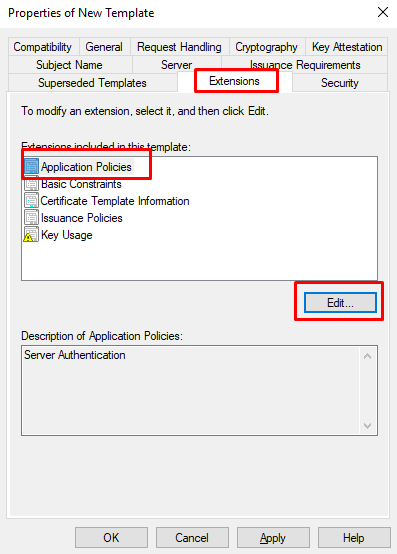
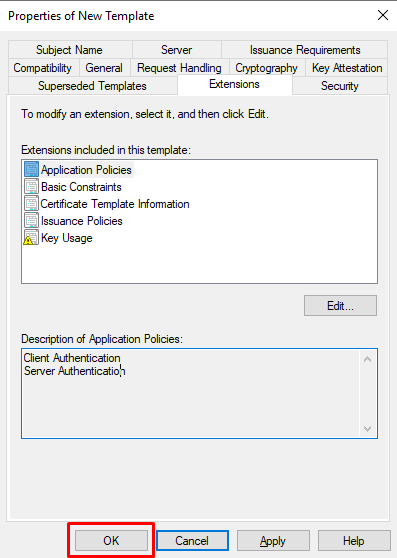
- Go to “Extension” tab, select “Application Policies” and click Edit.
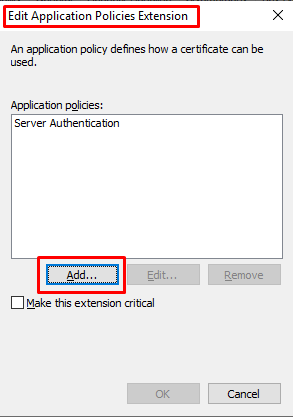
- At “Edit Application Policies Extension” click Add.
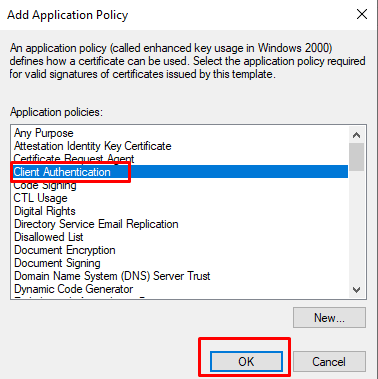
- At ”Add Application Policy” select from the list “Client Authentication” and click OK.
- At “Properties of New Template” click OK to finish certificate template creation.

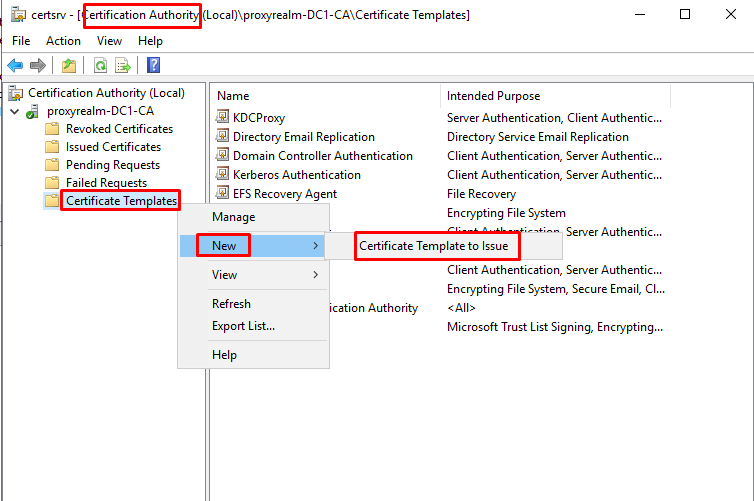
Step 2: Issue the Certificate Template
- Go to “Certification Authority” by pressing on Winkey + R and entering certsrv.msc.

- At “Certification Authority” right click on “Certificate Templates” -> “New” -> “Certificate template to Issue”.

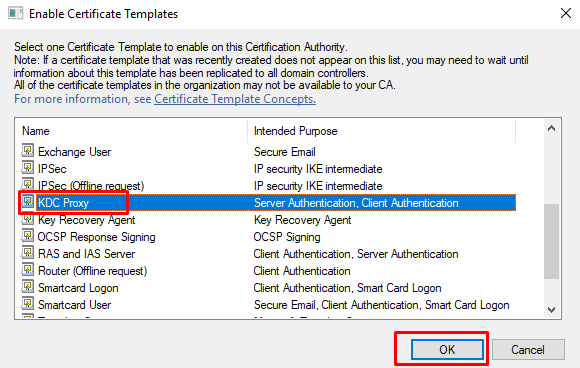
- At “Enable Certificate Templates” select from the list the template you created at Step 1 and then click OK.
Step 3: Enroll the Certificate
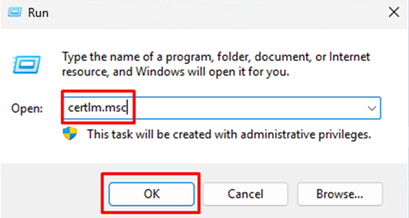
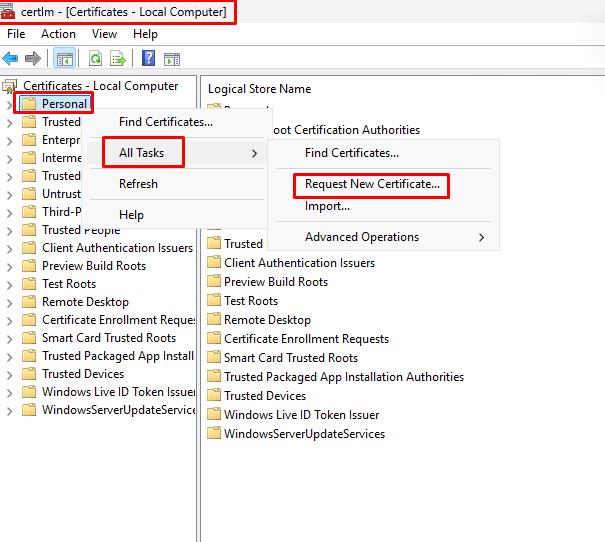
- On your KDC Proxy Server press Winkey + R and enter certlm.msc
- At “Certificates” right click on “Personal” -> “All Tasks” -> “Request New certificate”
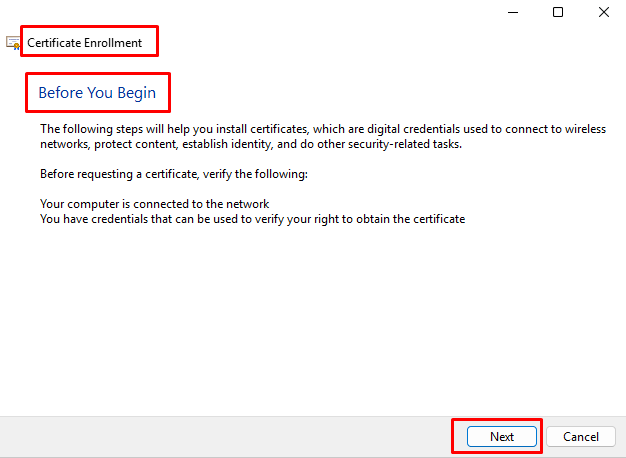
- At “Certificate Enrollment” Wizard click Next on “Before You Begin”.
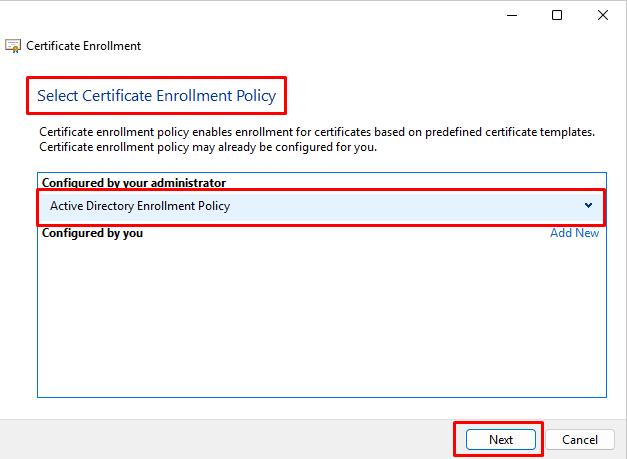
- At “Select Certificate Enrollment Policy” select “Active Directory Enrollment Policy” and click Next.
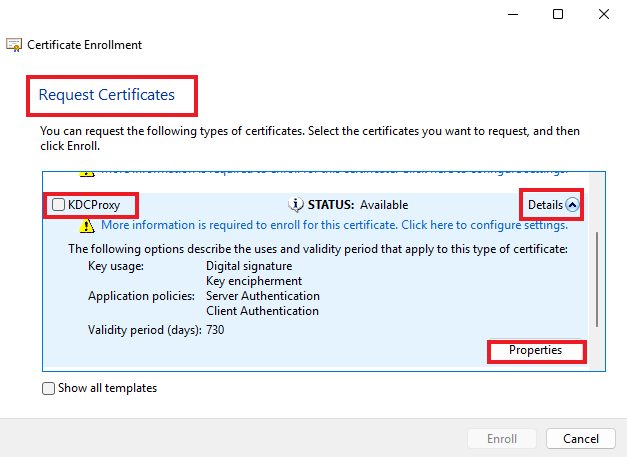
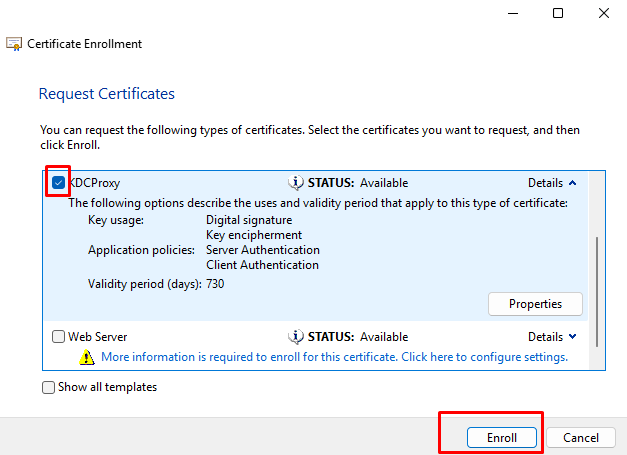
- At “Request Certificates” find your “KDCProxy” template from the list, expand “Details” and click Properties.
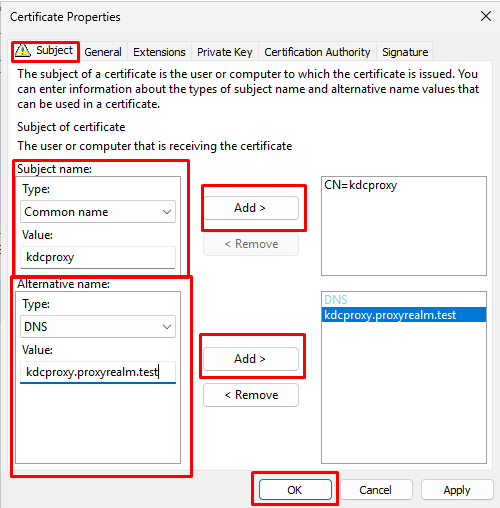
- At “Certificate Properties” go to the “Subject” tab. In “Subject name” select “Type: Common name”, enter your KDC Proxy Server hostname and click Add. In “Alternative name” Select “Type: DNS” and enter the Fully Qualified Domain Name (FQDN) of the KDC Proxy Server (e.g., kdcproxy.yourdomain.com) for the KDC Proxy Server and click Add. Then click OK.

- Check the box next to the KDCProxy certificate and click Enroll and then Finish.
- Go back to Computer “Certificates” Console (Winkey + R certlm.msc). Under “Certificates – Local Computer” expand “Personal” and select “Certificates”.
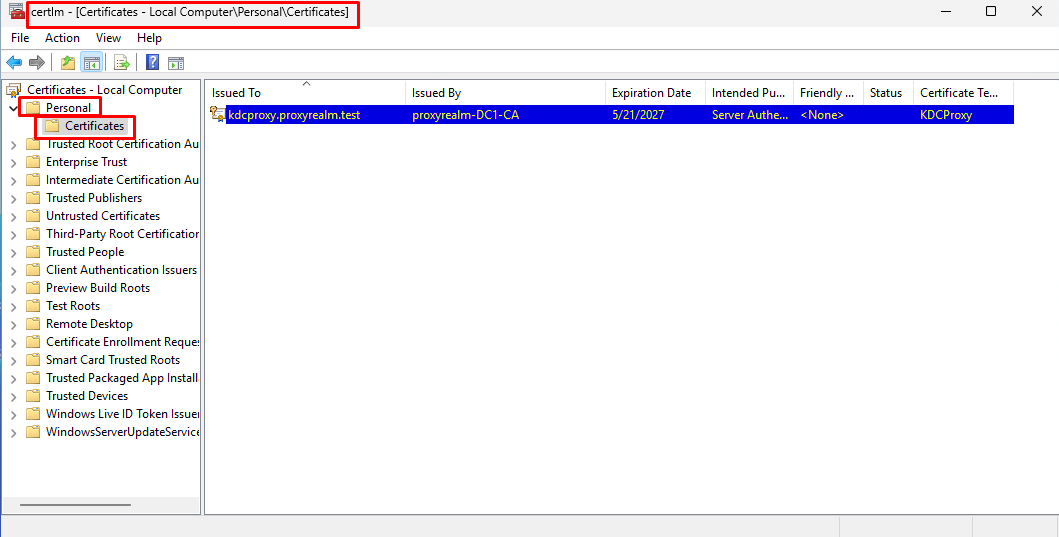
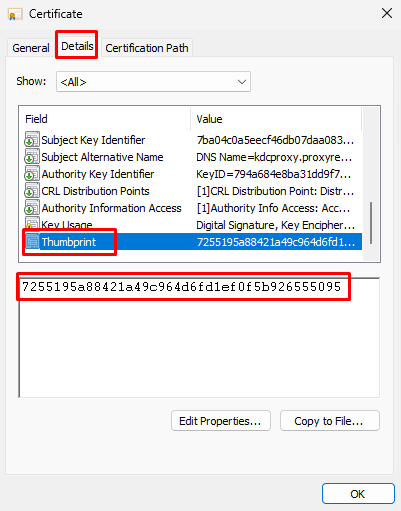
- Double click on the certificate you just enrolled . Go to the “Details” tab. Scroll down and select “Thumbprint”. Copy and save the thumbprint inside the notepad or any other text editor.
Configuring the KDC Proxy Server
Step 1: Configure URL ACL for the Endpoint
Reserve the URL namespace https://+:443/KdcProxy in HTTP.sys for use by the Network Service account, allowing it to listen for HTTPS requests on that path.
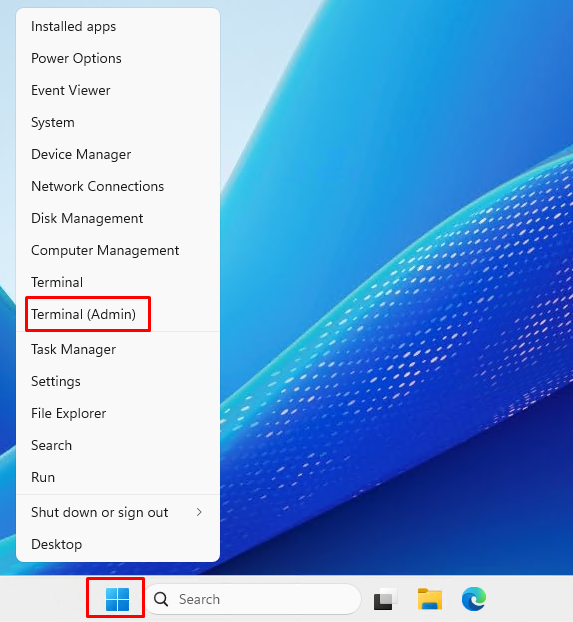
- Start an elevated command prompt by right clicking on the Start menu and selecting “Terminal (Admin)”.
Inside the Terminal run the following command:
netsh http add urlacl url=https://+:443/KdcProxy user=”NT authority\Network Service”
Step 2: Associate the Certificate with the Endpoint
- Start an elevated command prompt by right clicking on the Start menu and selecting “Terminal (Admin)”.
- Create appid to uniquely identify the URL namespace binding in HTTP.sys
inside the elevated terminal run the following:
[Guid]::NewGuid()
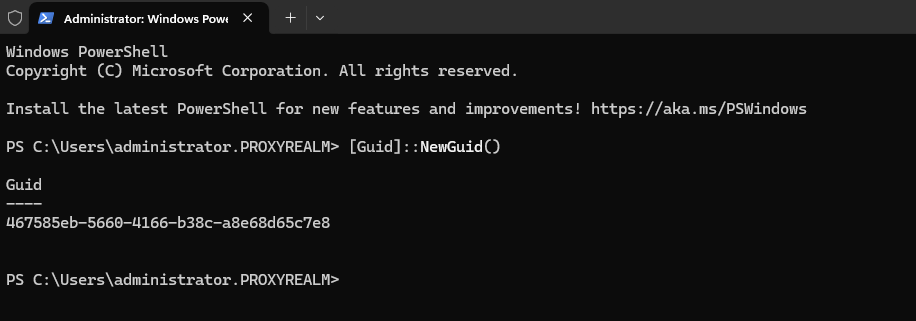
This command generates a Globally Unique Identifier (GUID) (e.g., a6e8b9e9-9c28-4328-a3ae-3cb7c57dc8e7).
- Copy the generated GUID, save it in a notepad (together with your certificate thumbprint) and use it as appid parameter in the next command, within curly brackets {}.
- Run the following command to associate the certificate with the endpoint:
netsh http add sslcert ipport=0.0.0.0:443 certhash=<your_thumbprint> appid={<your_appid>}
Replace <your_thumbprint> with the thumbprint you copied from the certificate and <your_appid> with the appid copied previously.
- Start the Kdcproxy service by running the following command in the elevated terminal:
net start kpssvc
Configuring and Testing Windows KDC Proxy Client
Windows clients must be configured to use a KDC Proxy, which can be achieved either via Group Policy or by directly editing the registry.
Step 1: Specify the KDC Proxy Address
Option 1: Configure via Group Policy Object (GPO)
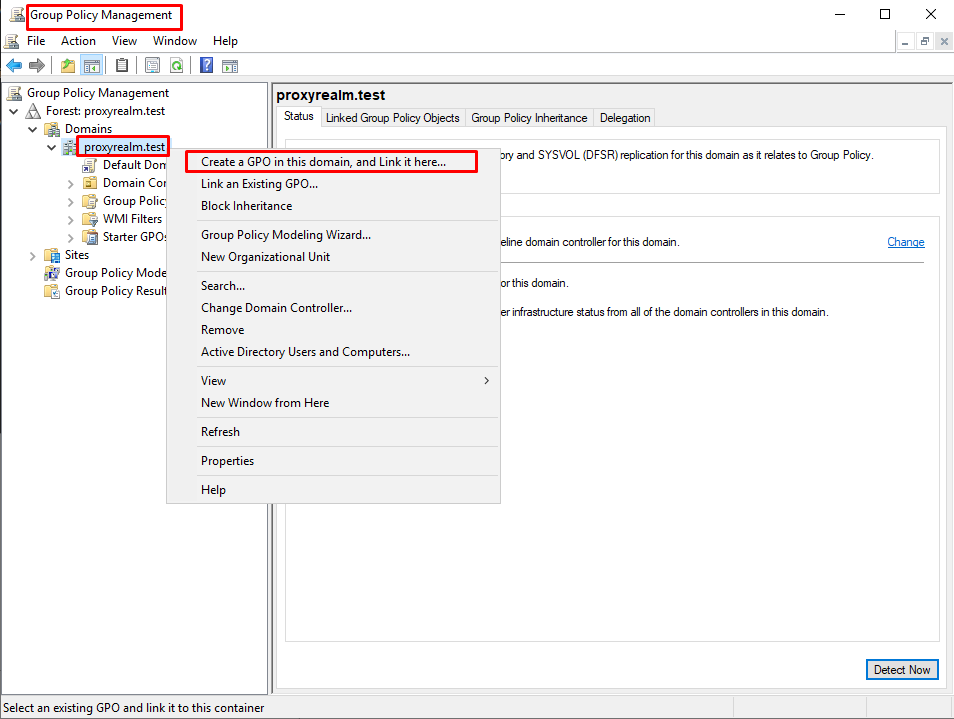
- On your DC server press Winkey + R and enter “gpmc.msc”.
- Right click on the Organizational Unit (OU), in which the hosts that will be using the KDC Proxy are at, or right click on the domain name (the policy will apply to the entire domain) and click on “Create a GPO in this domain, and link it here…”. In our lab we’ll create the policy for the entire domain.
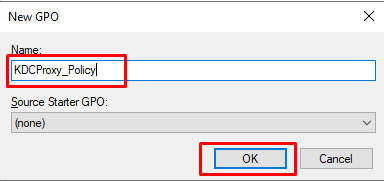
- Name the GPO as you like and click OK.
- Right click on the policy that was just created and select “Edit”.
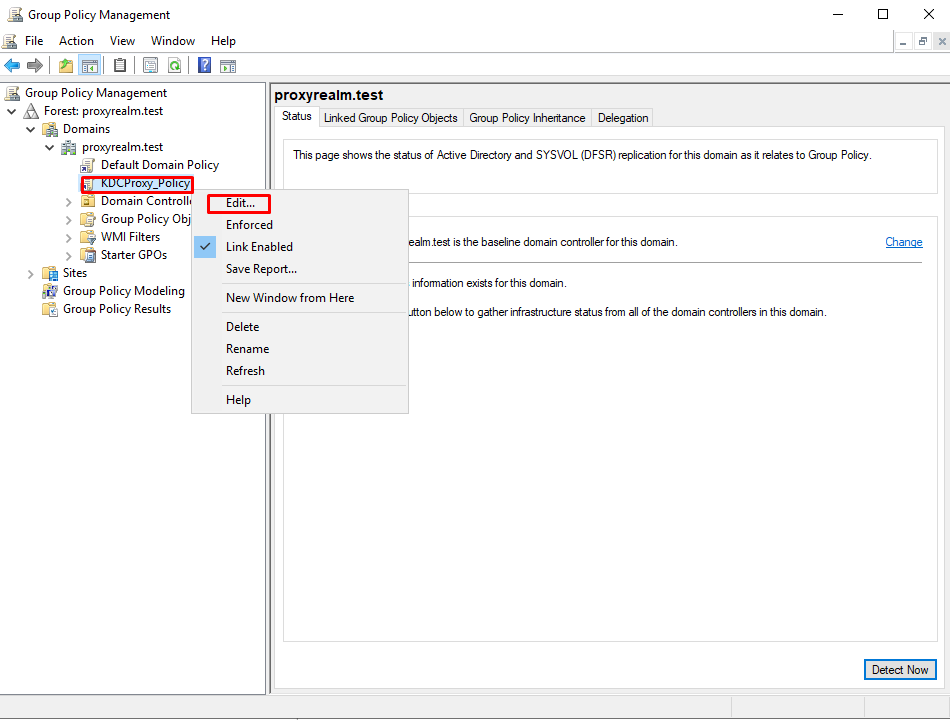
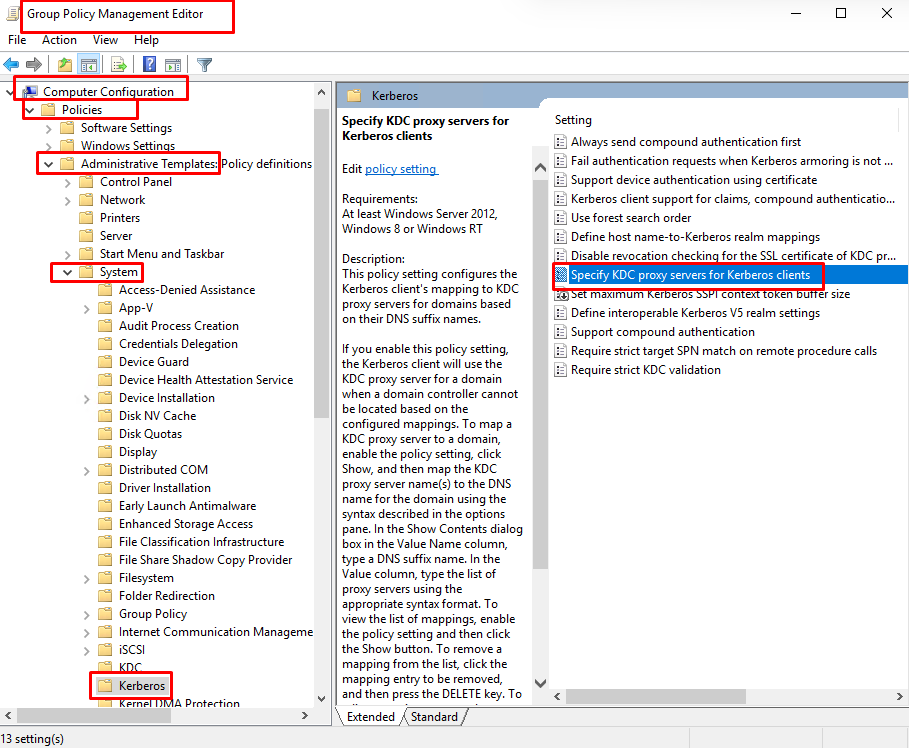
- At “Group Policy Management Editor” go to “Computer Configuration” -> “Policies” -> “Administrative Templates” ->”System” -> “Kerberos” and double click on “Specify KDC proxy servers for Kerberos clients”.
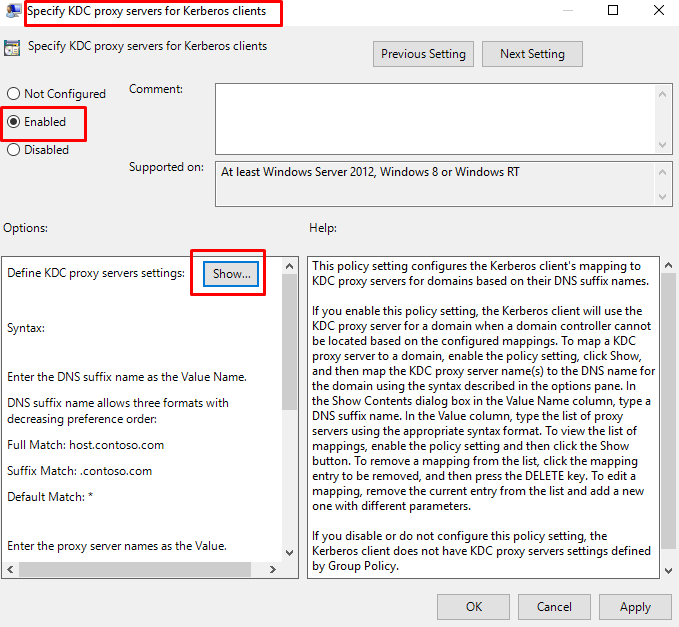
- At “Specify KDC proxy servers for Kerberos clients” select “Enabled” and then “Show”.
- At “Show Contents” enter the following:
- For “Value name” enter “yourdomain.com”
- For “Value” enter “<https kdcproxy.yourdomain.com />”.
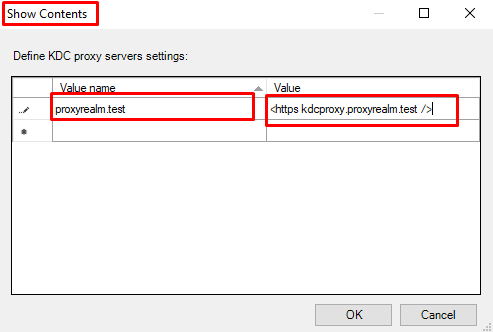
Click OK and then OK in the “Specify KDC proxy servers for Kerberos clients” console.
- Press Winkey + R and enter “gpupdate /force”.
- On your client host press Winkey + R and run “gpupdate /force” and reboot your host.
Option 2: Configure via Registry
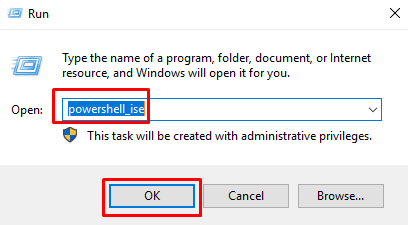
- On your client host open elevated PowerShell Integrated Scripting Environment (ISE) by pressing Winkey + R and entering powershell_ise.
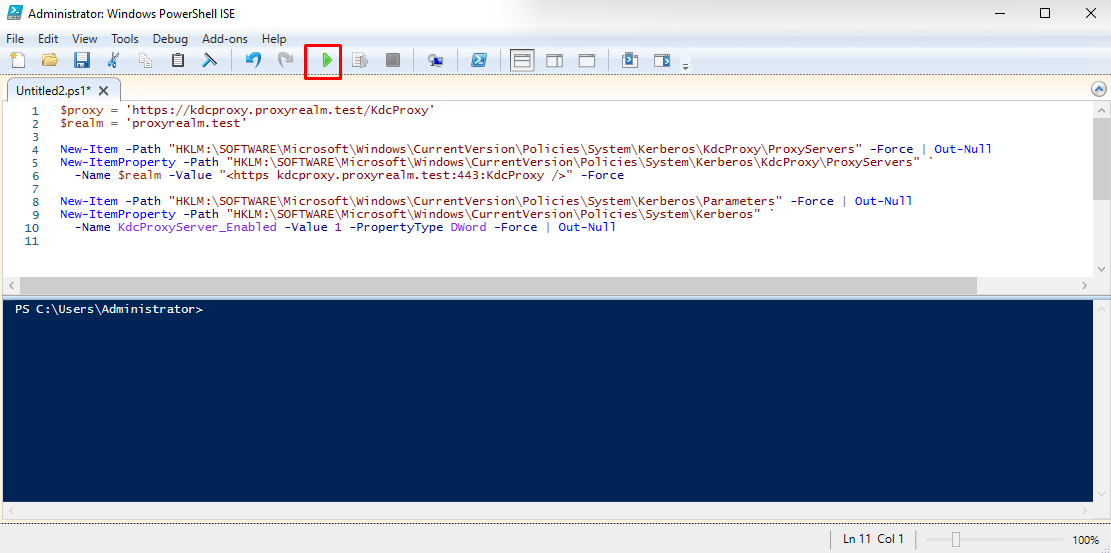
- Copy the following into PowerShell ISE:
$proxy = ‘https://kdcproxy.proxyrealm.test/KdcProxy’
$realm = ‘proxyrealm.test’
New-Item -Path “HKLM:\SOFTWARE\Microsoft\Windows\CurrentVersion\Policies\System\Kerberos\KdcProxy\ProxyServers” -Force | Out-Null
New-ItemProperty -Path “HKLM:\SOFTWARE\Microsoft\Windows\CurrentVersion\Policies\System\Kerberos\KdcProxy\ProxyServers” `
-Name $realm -Value “<https kdcproxy.yourdomain.com />” -Force
New-Item -Path “HKLM:\SOFTWARE\Microsoft\Windows\CurrentVersion\Policies\System\Kerberos\Parameters” -Force | Out-Null
New-ItemProperty -Path “HKLM:\SOFTWARE\Microsoft\Windows\CurrentVersion\Policies\System\Kerberos” `
-Name KdcProxyServer_Enabled -Value 1 -PropertyType DWord -Force | Out-Null
And click Run Script.
- Reboot your client host.
Step 2: Block the KDC Port to the Domain Controller
To ensure that Kerberos tickets are issued by the KDC Proxy server rather than directly by the Domain Controller (DC), configure the Windows Firewall to block port 88 (both TCP and UDP) traffic to the DC. This action forces clients to route Kerberos authentication requests through the KDC Proxy.
Configure the Windows Firewall
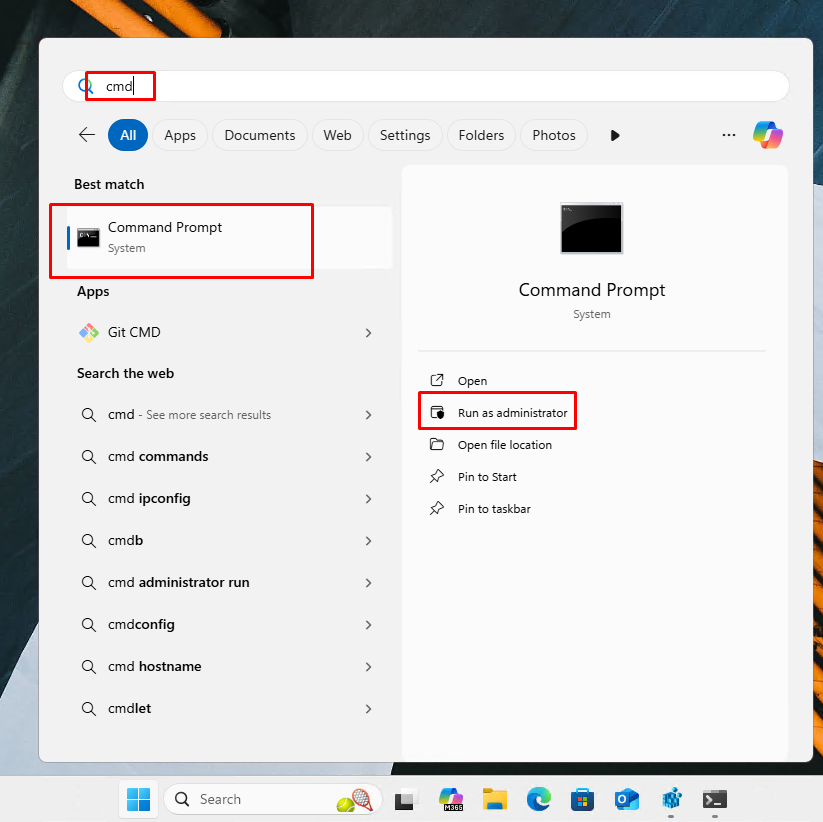
- Open an elevated command line terminal by clicking on Start, search for “cmd”. Right click on CMD and click on “Run As Administrator”.
- Run the following command into the Terminal in order to block TCP connection:
netsh advfirewall firewall add rule name=”Block Kerberos TCP to DC” dir=out action=block protocol=TCP remoteip=<DC_IP_Address> remoteport=88
Replace <DC_IP_Address> with your actual DC IP address.
Step 3: Test the Windows KDC Proxy Client
- Login into your host client
- Open an elevated command line terminal by clicking on Start, search for “cmd”. Right click on CMD and click on “Run As Administrator”
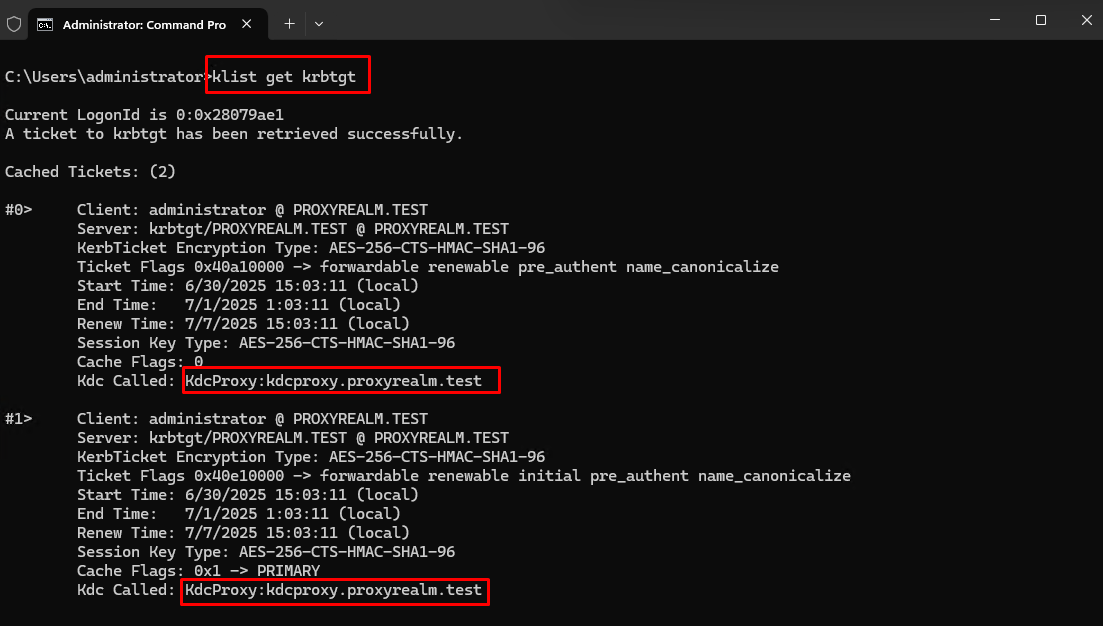
- In the elevated CMD terminal run the following command:
klist get krbtgt
- You should see one or two tickets showing up. Make sure that under “Kdc Called” it shows your KDC Proxy hostname.
Configuring and testing Linux KDC Proxy YNQ Client
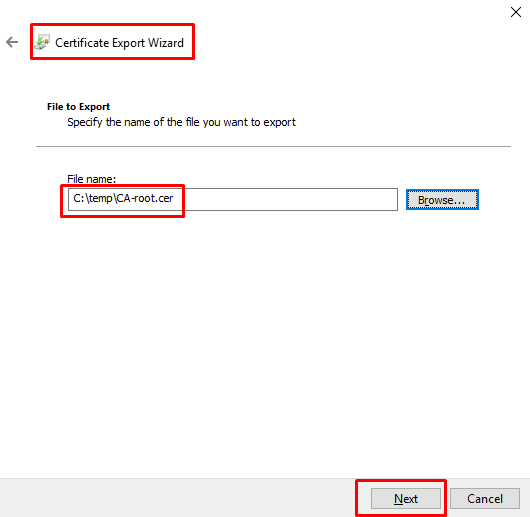
Step1: Export the CA Root Certificate
The Linux client needs the CA root certificate to verify the authenticity of the KDC Proxy server’s HTTPS certificate. Without it, the YNQ client cannot establish a trusted TLS connection to the proxy.
- On your DC server open Certification Authority console by pressing Winkey + R and entering certsrv.msc into the run box and click OK.

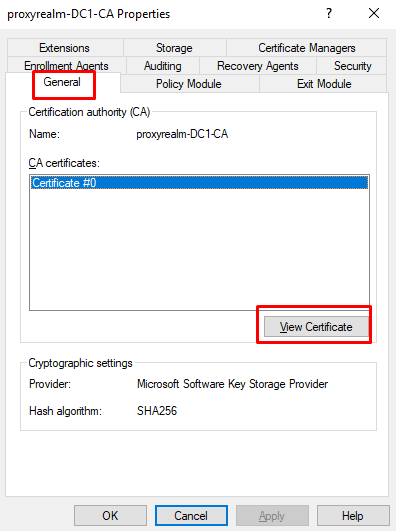
- At “Certification Authority” right click on the CA name and select properties.

- At “General” tab click on “View Certificate”.
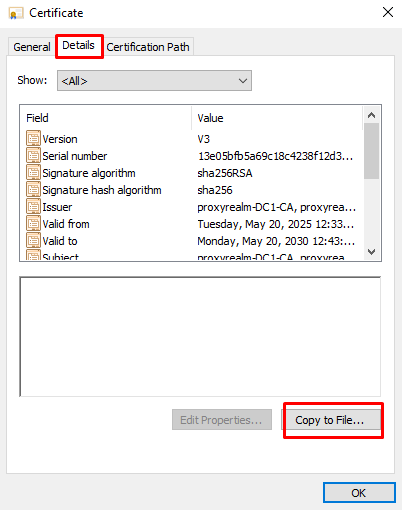
- Go to “Details” tab and select “Copy to File…”.
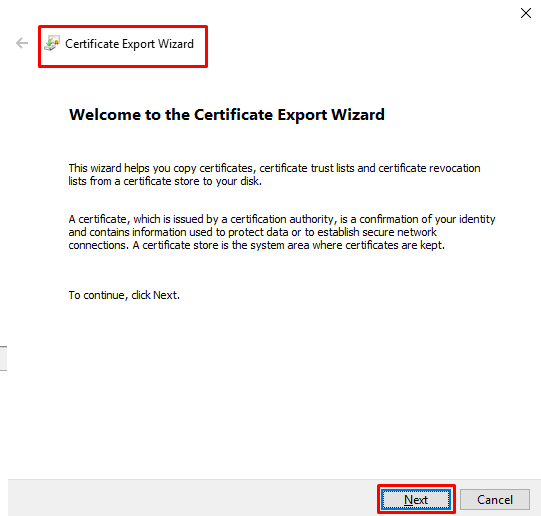
- Click on “Next” at “Certificate Export Wizard”.
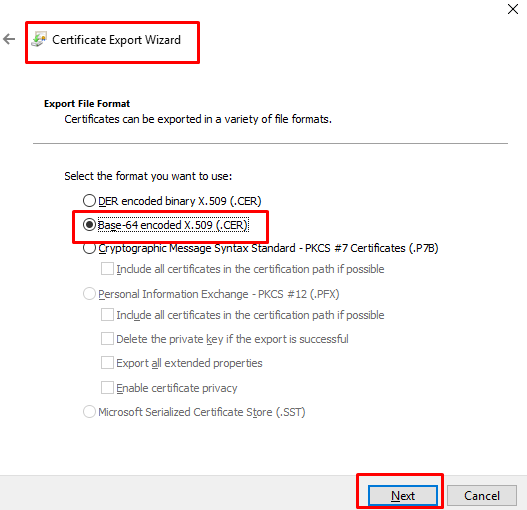
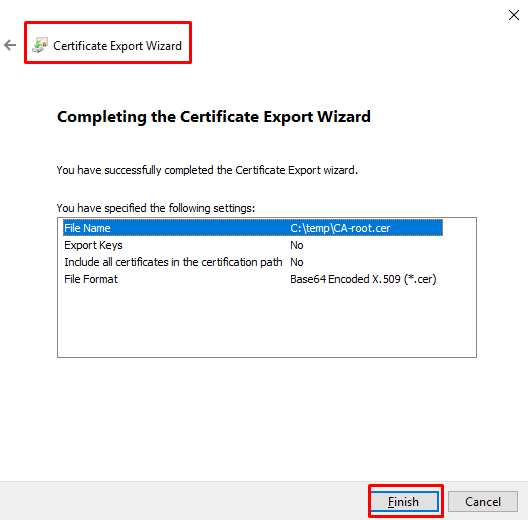
- Select the format “Base-64 encoded X.509 (.CER)” and click “Next”.
- Specify the path and name to save the certificate and click “Next”.
- Click “Finish”.
Step 2: Install the Certificate on the Linux Client
- Once exported, transfer the file to the Linux client, place it in the ca-certificates folder and install it by running:
sudo cp ca-root.cer /usr/local/share/ca-certificates/kdcproxy-ca.crt
sudo update-ca-certificates
Step 3: Install Kerberos Client Packages on the Linux System
- To set up an Ubuntu system as a Kerberos client using MIT Kerberos, you’ll need to install the following:
sudo apt update
sudo apt install -y krb5-user libpam-krb5 libpam-ccreds krb5-k5tls
Step 4: Configure krb5.conf
- Open /etc/krb5.conf with your favorite text editor (Vim, nano…) and insert the following:
[libdefaults]
default_realm = yourdomain.com
dns_lookup_kdc = false
dns_lookup_realm = false
ticket_lifetime = 24h
renew_lifetime = 7d
forwardable = true[realms]
PROXYREALM.TEST = {
default_domain = yourdomain.com
kdc = https://kdcproxy.yourdomain.com/KdcProxy
admin_server = kdcproxy.yourdomain.com
http_anchors = FILE:/etc/ssl/certs/ca-certificates.crt
}
[domain_realm]
. YOURDOMAIN.COM = YOURDOMAIN.COM
YOURDOMAIN.COM = YOURDOMAIN.COM
. yourdomain.com = YOURDOMAIN.COM
yourdomain.com = YOURDOMAIN.COM
Change yourdomain.com to your actual domain name. Save and close krb5.conf.
Step 5: Test the Linux KDC Proxy client
- In Linux client terminal run the command:
kinit user@yourdomain.com
Change user to a real user from your Active Directory, and yourdomain.com to your actual domain.
- Now run klist in your terminal to see the created Kerberos ticket.

Daniel Oz, IT Manager, Visuality Systems